- Messages
- 3,199
- Reaction score
- 3
- Trophy Points
- 53
Step 1
Create a new document with 640 x 480 dimensions.
Select Filter > Noise > Add Noise and use the following settings:
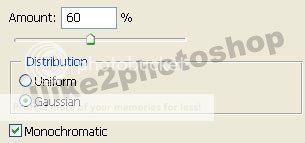
**Make sure Monochromatic is checked.
Step 2
Now select Filter > Blur > Motion Blur and set the angle to 0 degrees and the distance to 20 Pixels and click ok. This motion blur creates the wood grains.
Step 3
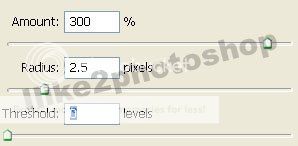
Select Filter > Sharpen > Unsharp Mask. I used the following settings, but you can experiment with the various settings.
Step 4
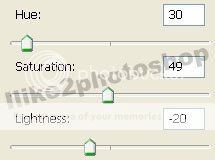
Select Image > Adjustment > Hue/Saturation and add the following settings. You can again experiment with the various settings. Make sure colourize is checked.
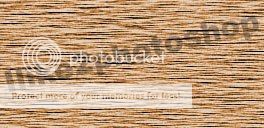
You should now have a wooden texture effect.
Create a new document with 640 x 480 dimensions.
Select Filter > Noise > Add Noise and use the following settings:
**Make sure Monochromatic is checked.
Step 2
Now select Filter > Blur > Motion Blur and set the angle to 0 degrees and the distance to 20 Pixels and click ok. This motion blur creates the wood grains.
Step 3
Select Filter > Sharpen > Unsharp Mask. I used the following settings, but you can experiment with the various settings.
Step 4
Select Image > Adjustment > Hue/Saturation and add the following settings. You can again experiment with the various settings. Make sure colourize is checked.
You should now have a wooden texture effect.